
Updated June 22, 2020.
It never fails. Whether I’m at the airport or meeting up with friends on my travels, and they all ask me the same thing: “That’s all you brought?!” I take it as the highest packing praise! It’s one thing to pack light, but it’s another to pack well. By pack well, I mean pack efficiently and in an organized way. Not an organized person? Never fear! This quick tutorial will have you going carry-on only in no time.
*Some of the links below are affiliated with Amazon! That means when you click the links to shop with me, you’re supporting my small business at no additional cost to you!
Terminology
Let’s get a couple of terms out of the way. Many airlines allow you to bring one “carry-on” and one “personal item.” So what’s the difference?
- Carry-on: Luggage that fits in the overhead bin and contains anything you might need if your checked luggage gets lost (such as medication to be used throughout your trip, laptops, cameras, etc); or your primary luggage if you’re not checking a bag or suitcase. Examples: Large backpacks, roll-aboard suitcases, large duffle bags.
- Personal Item: A smaller item than your carry-on that will fit under the seat in front of you and contains anything you may need in-flight (such as medications to be taken in-flight, work, entertainment for the flight, snacks, water, a light jacket or scarf, etc.). Examples: Purse, briefcase, laptop bag, small backpack or day bag, etc.

Not sure we’re speaking the same language?
Your Ultimate Guide to Travel Lingo
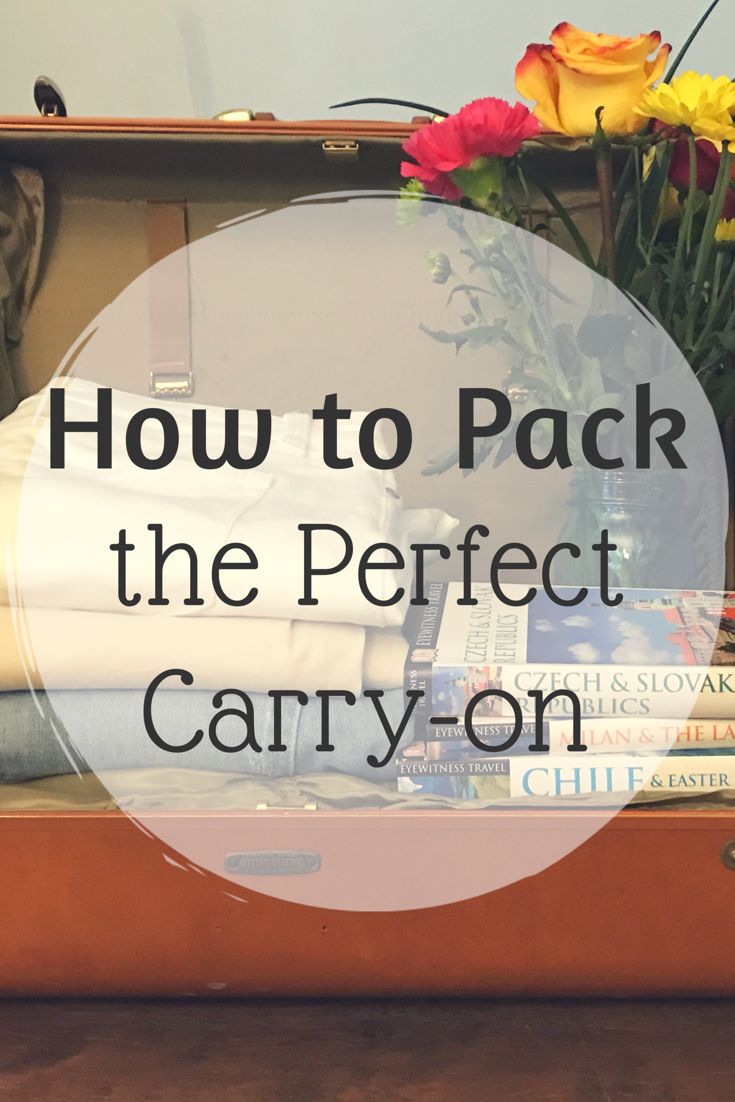
7 Steps to Packing the Perfect Carry-on
Step 1: Check Your Airline’s Carry-on Restrictions
Before you start packing, check your airline’s carry-on and personal item size and weight restrictions. It’s a good idea to use a luggage scale and measure your full bag at home before you leave for the airport.
Also be sure to pay careful attention to whether or not you are allowed to have a carry-on, as some airlines have started to require payment for carry-ons for some fare classes (the lowest fare class means the cheapest ticket) or are not allowing them altogether. Just to an Internet search for “[airline name] carry-on policy.”


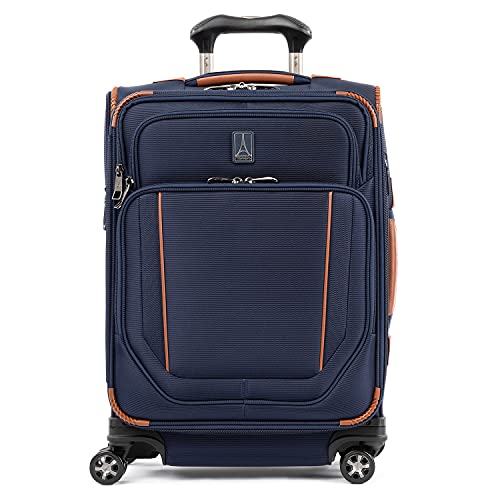
Step 2: Use Great Luggage
Different people need different types of luggage. My husband and I are both firm believers in backpacks, but others prefer roll-aboards, and still others prefer a duffle. Here are some of the top options for each type:
Backpacks
Get a good fit and go totally hands-free! I suggest 30-46 Liter (backpack space is measured this way). This will allow you to pack for any trip to any destination!


Roll-aboard
If you have back or knee problems, try a carry-on that rolls with the punches! Soft cases will be more flexible; hard cases will be more durable. These do not always fit in the over-head bins of smaller airplanes, but on larger aircraft you should not have a problem.

Duffle
Duffles are a bit more unruly than backpacks for running through the airport, but for some people, this is the way to go. You can fillit to the brim and have maximum pliability to make it fit just about anywhere! This will be the least expensive, but also the least durable option, so buyer beware.


Want more on luggage?
Check out Packing Strategy 5: Luggage Minimization.
Step 3: Learn to Roll and Consider Packing Cubes
I’ve spoken with many clothing rollers over the years, and each and every one of them has said the same thing, “It’s amazing how much space I save! I can put in three times as much!” And it’s true! Check out Packing Strategy 1: Roll with It! for all the rolling info.
But there’s something else that helps save space: packing cubes! I’m a recent packing cube convert, but now I’m a “cuber” for life. Fill them right up, zip them closed, and not only are you saving space, you’re also creating a “shelf” of sorts in your luggage, which helps you stay more organized. Compression cubes are the best because they really do compress everything so concisely! Check them out:

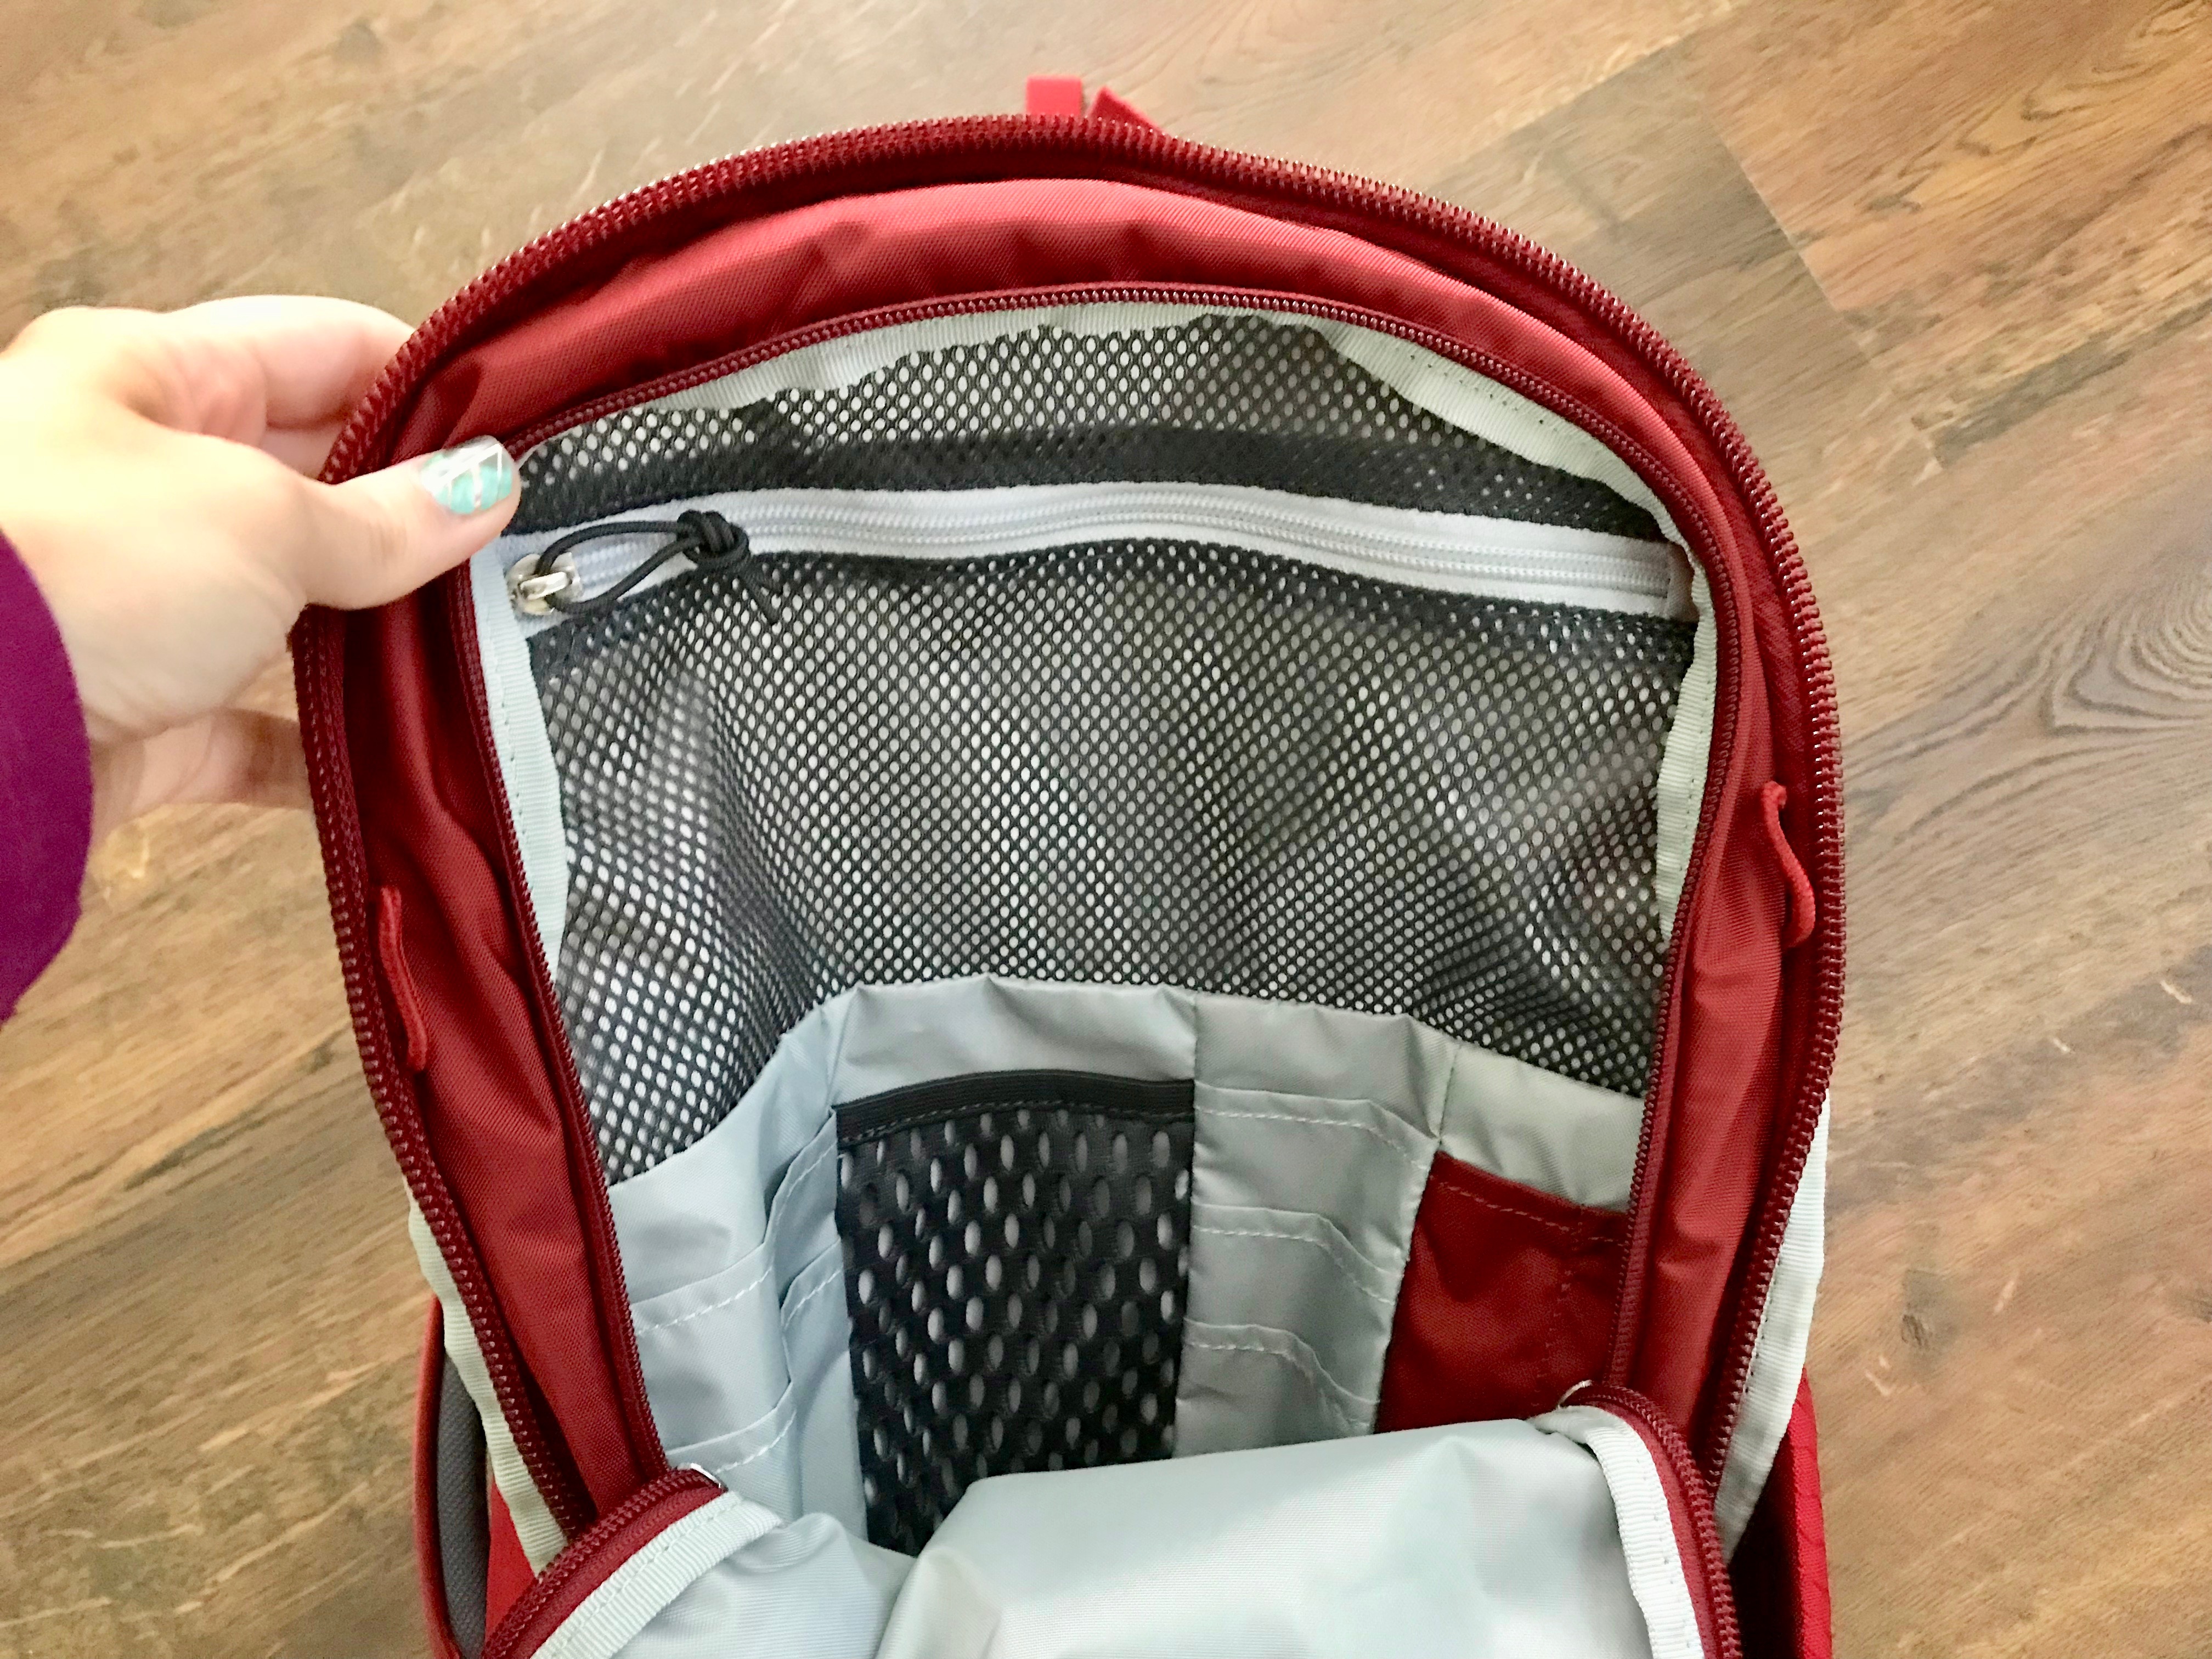
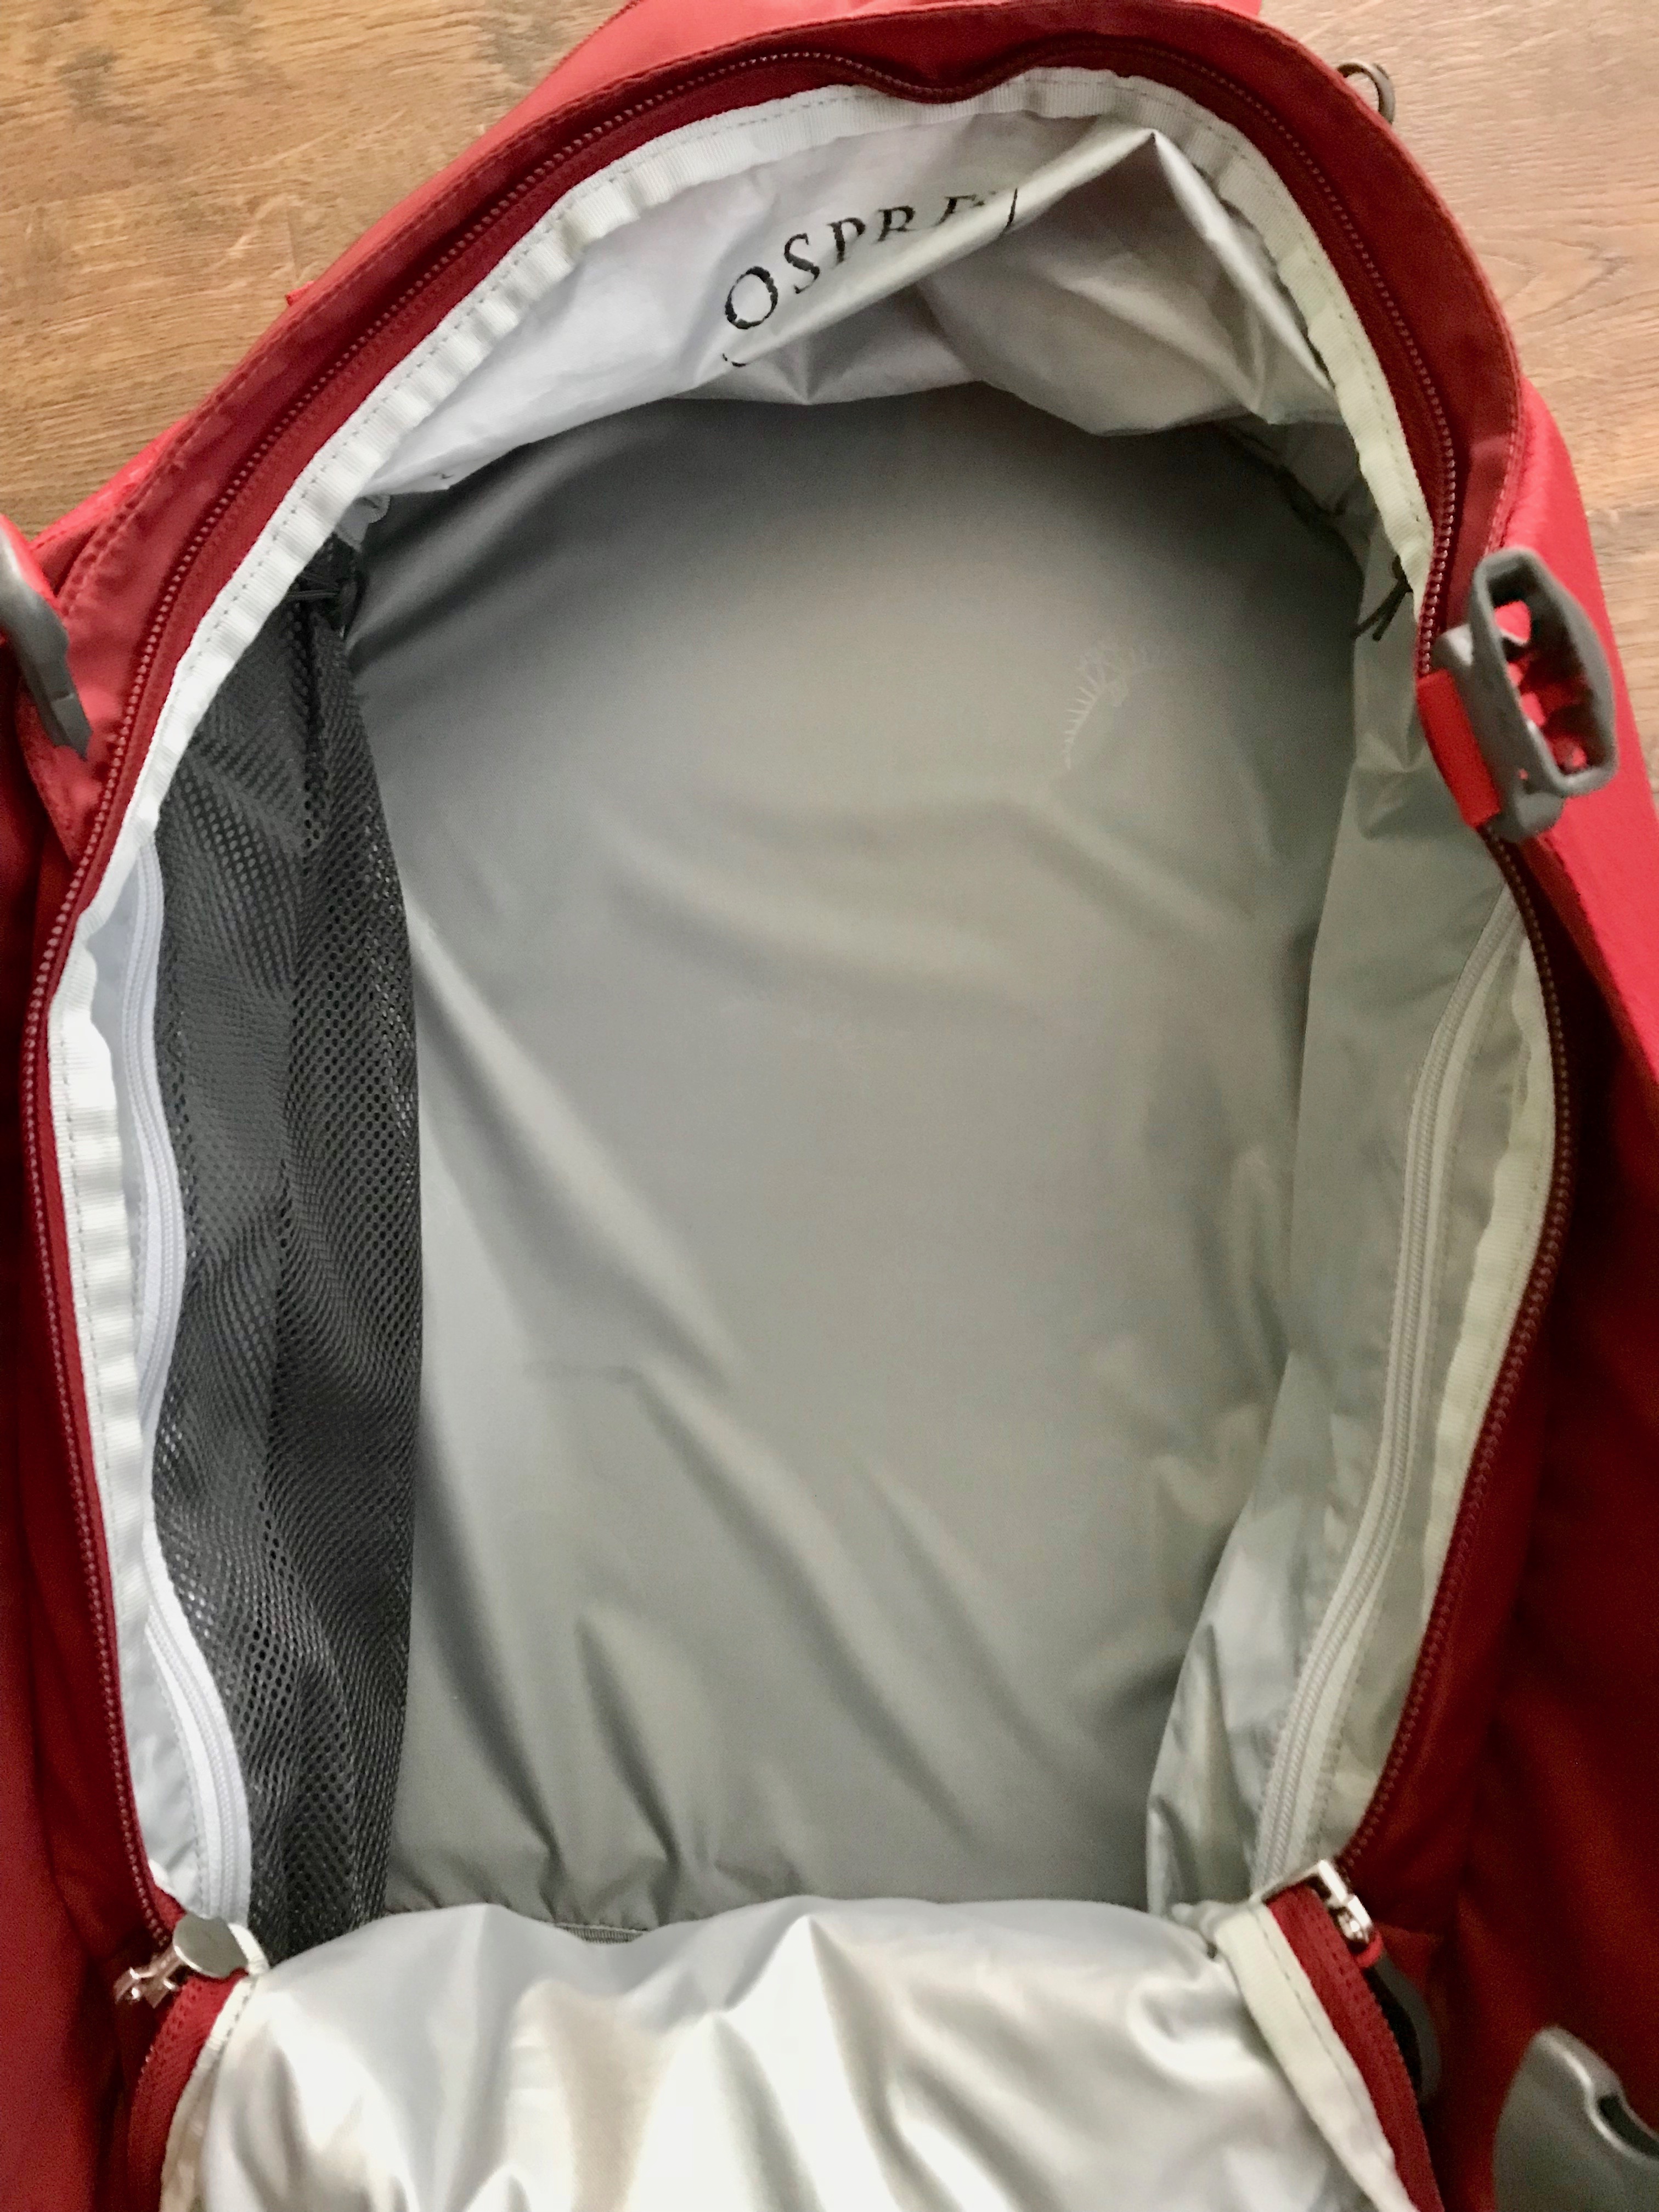
Step 4: Utilize All Your Space
This means the space inside the shoes you pack, all the pockets in your luggage, and all the space around every item in your bag. Leave no space empty! Check out all these storage spaces in my Osprey Porter Backpack:
Step 5: Put in the Big Items First
Pack your larger items first to make sure they get prime space in your carry-on. Your packing cubes, shoes, and any other relatively large items should go in first.
Step 6: Fill in with Smaller Items
Now you can fill in the gaps with rolled up underwear, socks, scarves, and anything else that’s very flexible or can be squished down to fill in the gaps between the larger items! Don’t waste a single empty space.
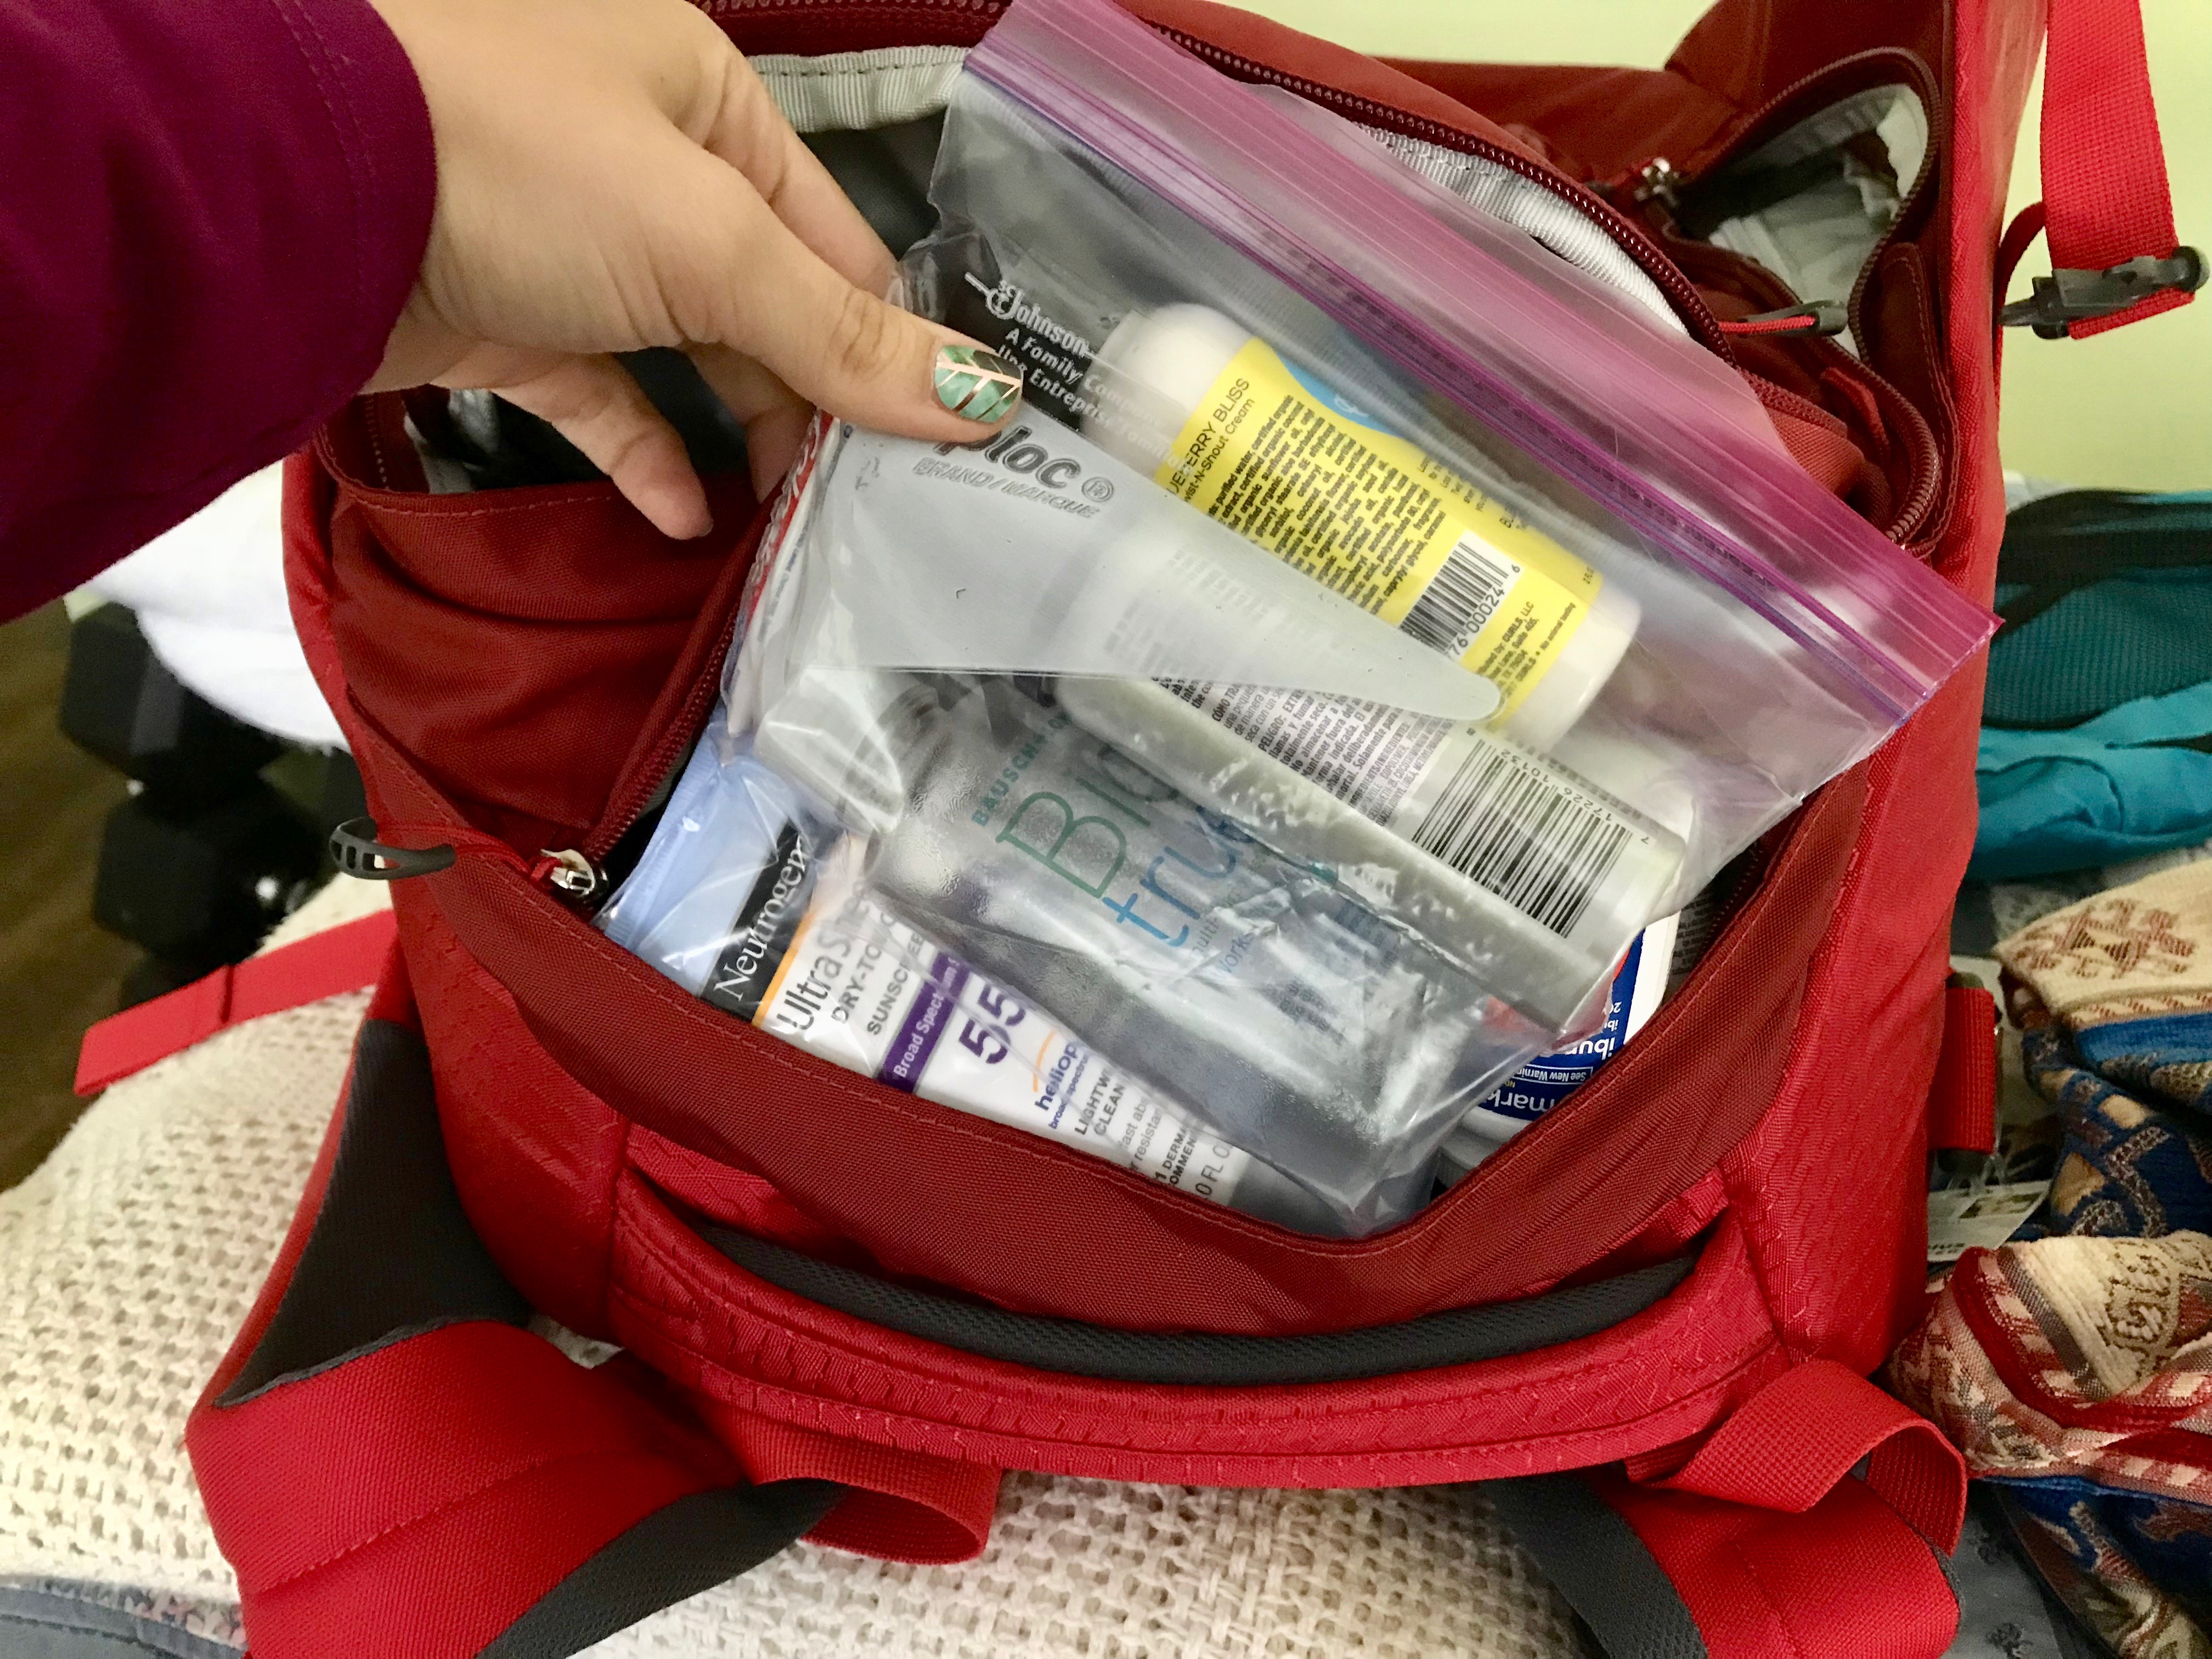
Step 7: Liquids and Laptops Last
Unless you have TSA Pre-check, you will have to pull your liquids out in a quart-sized bag to go through security, and your laptop will have to come out as well. And no matter where you’re coming from in the world, you will have to pull out your liquids and laptop to board any flight, since there is not TSA Pre-check available to U.S. residents abroad.
Put these items in last and put them in a place you can access easily, so you’re not digging around and pulling everything out of your bag to look for your liquids and laptop. I always put my liquids bag in the top pocket of my luggage, and my laptop always goes in the laptop slot at the back of my bag.
Stay tuned for my upcoming post: The Pros and Cons of Carry-on Travel
Have you gone carry-on only? Are you thinking about trying it for the first time? Tell me in the comments section below!
Want more packing tips, strategies, and hacks? Check out my Packing Page!
Love this post? Pin it for later!
Leave a Reply